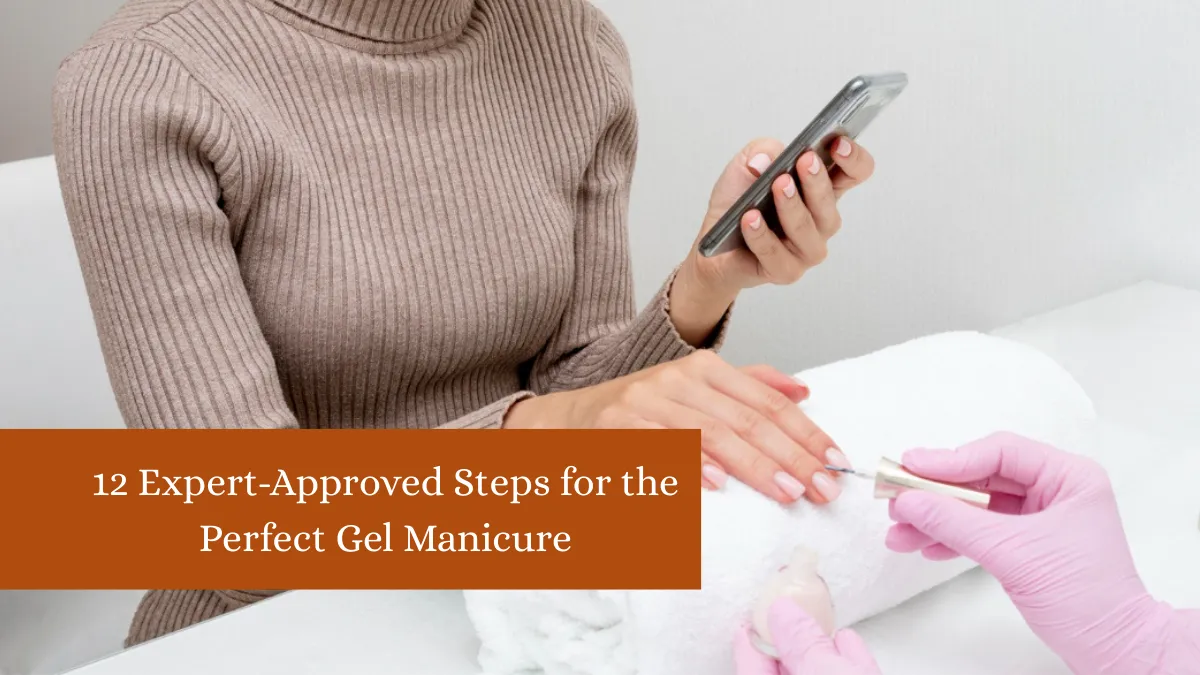
A gel manicure offers a glossy, long-lasting finish that resists chipping far longer than traditional polish, making it a favorite for nail enthusiasts. However, achieving a flawless gel manicure at home requires more than just painting on color—it’s a careful, step-by-step process that ensures durability, health, and professional-level results. From proper nail preparation to curing under a UV or LED lamp, each stage plays a crucial role in the overall outcome.
Missing a single step can result in lifting, peeling, or an uneven surface. The good news is that with expert-approved techniques, you can recreate salon-quality gel nails from the comfort of your home. This guide will walk you through 12 meticulous steps—from prepping the nail bed to the final topcoat seal—ensuring your manicure stays beautiful for up to three weeks. Whether you’re a beginner or a seasoned DIY nail artist, mastering these steps will elevate your at-home gel game.
1. Remove Any Existing Nail Polish
Before starting your gel manicure, it’s essential to remove all traces of previous nail polish. Even a small amount of leftover lacquer can interfere with the adhesion of your gel layers, causing premature lifting. Use a non-acetone nail polish remover for regular polish, or pure acetone if you’re removing an old gel manicure. For gel, soak cotton pads in acetone, place them on each nail, and secure with foil for 10–15 minutes to break down the gel.
Once softened, use a cuticle pusher to gently scrape away the residue. Avoid forcefully peeling gel polish, as this can strip the natural nail’s protective layers, leading to thinning and brittleness. After removal, wash your hands with mild soap and dry them thoroughly. This clean slate ensures your new gel polish adheres evenly and lasts longer. Proper removal is the foundation for a flawless, damage-free manicure.
2. Shape Your Nails
Shaping your nails not only determines the aesthetic of your manicure but also affects the polish’s durability. Common shapes include square, oval, almond, and squoval—choose one that suits both your style and lifestyle. Use a fine-grit nail file to gently shape the edges, filing in one direction to prevent splitting. Avoid using metal files, as they can be too harsh on natural nails. Shaping before applying gel ensures that you won’t have to file afterward, which could break the seal of your topcoat and shorten your manicure’s lifespan.
Pay attention to symmetry so each nail looks consistent. If your nails are prone to breaking, a rounded or squoval shape tends to be more durable than sharp corners. Take your time with this step, as well-shaped nails provide a balanced canvas for your gel polish and help create a more polished, professional-looking final result.
3. Push Back and Trim Cuticles
Cuticle care is essential for both nail health and a neat gel manicure. Start by soaking your fingertips in warm, soapy water for a few minutes to soften the cuticles. Use a cuticle pusher to gently push them back, revealing more of the nail plate for polish application. Avoid aggressive pushing, which can damage the nail bed and increase the risk of infection. If necessary, use a cuticle trimmer to remove any excess skin, but be cautious to avoid cutting too much. Over-trimming can lead to hangnails and irritation.
This step ensures your gel polish is applied smoothly from base to tip without flooding the cuticle area, which can cause lifting. Well-maintained cuticles not only improve the manicure’s appearance but also promote healthy nail growth by preventing buildup and protecting against bacteria. Always finish with a quick wipe to remove any leftover cuticle debris.
4. Buff the Nail Surface
Buffing is a critical preparation step that helps your gel polish adhere better by removing surface shine from the natural nail. Use a gentle, fine-grit buffer (180–220 grit) and lightly go over the entire nail plate. Avoid over-buffing, as this can thin your nails and make them more prone to breakage. The goal is to create a slightly roughened surface that gives the gel something to grip onto. Buffing also smooths out any ridges or imperfections, ensuring your gel polish applies evenly without bumps or streaks.
After buffing, use a nail brush or lint-free wipe to remove dust particles—any residue left behind can compromise adhesion. This step should be done with a light touch, focusing on preparation rather than aggressive filing. Proper buffing creates a strong foundation for your gel layers, helping your manicure last longer without peeling or chipping prematurely.
5. Cleanse with Nail Prep Solution
Before applying any product, your nails must be free of oils, moisture, and dust. A nail prep solution—often a mix of isopropyl alcohol and acetone—is designed to dehydrate the nail surface, ensuring optimal adhesion for the gel polish. Apply the solution to a lint-free wipe and thoroughly clean each nail, making sure to get close to the cuticles and sidewalls. Avoid touching your nails after this step, as the natural oils from your fingers can transfer and cause lifting later.
This cleansing step also helps prevent bubbles in your polish and ensures a smoother application. If you don’t have a specific nail prep solution, 70–90% isopropyl alcohol can be used as an alternative. Skipping this step can significantly reduce the longevity of your manicure, so it’s crucial for achieving that professional, chip-free finish.
6. Apply a Thin Layer of Base Coat
The base coat is the anchor for your entire gel manicure. Apply a thin, even layer, starting slightly away from the cuticle and brushing toward the free edge. Be sure to “cap” the tip of the nail by lightly running the brush across the edge—this helps seal the polish and prevent early chipping. Avoid flooding the cuticle or sidewalls, as this can cause lifting when the gel begins to grow out.
Thin layers cure more effectively and reduce the risk of wrinkling or bubbling. Once applied, cure the base coat under a UV or LED lamp according to the product’s instructions (typically 30–60 seconds for LED, 2 minutes for UV). The base coat not only ensures better adhesion for the color layers but also protects your natural nails from staining, especially when using dark or vibrant shades.
7. Apply the First Color Layer
Begin your color application with a very thin layer—this is key for preventing streaks and ensuring even curing. Wipe excess polish from the brush before applying, then start in the center of the nail and gently push the brush toward the cuticle without touching it, pulling the color down to the tip. Repeat on both sides, making sure to keep the layer smooth and even.
Cap the free edge to prevent chipping. Cure under your lamp for the time recommended by the polish brand. Thin layers are essential because thick coats can cause wrinkling or incomplete curing, which may lead to peeling. If you’re using a sheer or pastel color, it’s normal for the first coat to look slightly translucent—subsequent coats will build up opacity.
8. Apply the Second Color Layer
The second color layer is where you achieve full opacity and even coverage. Apply it using the same technique as the first—thin, even strokes, capping the free edge, and avoiding cuticle flooding. This layer should completely cover any streaks from the first coat, giving your nails a professional, salon-like finish. Again, cure according to your lamp and gel brand instructions.
If your polish is still slightly sheer after two coats, you can add a third, but remember that thin layers are always better than one thick one. Proper curing between each layer ensures the gel bonds securely and reduces the chance of lifting or bubbling later. This is the stage where the color truly pops, so take your time to ensure a flawless application.
9. Perfect with a Third Coat if Needed
While many gel polishes achieve full coverage in two coats, some lighter or more translucent shades benefit from a third layer. This step is optional, but if your color still looks uneven or patchy after the second coat, an extra thin layer can provide that perfect, saturated look. Apply it just as carefully as the previous coats, ensuring you cap the edges and avoid thick buildup near the cuticles.
Cure fully under your lamp. This additional layer can also add depth to certain colors, making them appear richer and more vibrant. However, be mindful that too many thick layers can make the polish more prone to peeling, so always work with thin coats.
10. Apply the Top Coat
The top coat is what gives gel manicures their signature high-gloss finish and protects the color beneath. Apply a thin, even layer over the entire nail, making sure to cap the free edge. The top coat seals all your layers together, providing durability against chips and scratches. Cure under your lamp for the full recommended time to ensure it hardens completely.
Some top coats leave a sticky inhibition layer after curing—don’t worry, that’s normal and will be removed in the next step. A good quality top coat can also protect your nails from everyday wear and tear, helping your manicure stay flawless for up to three weeks.
11. Remove the Sticky Layer
After curing the top coat, use a lint-free wipe soaked in isopropyl alcohol to remove the sticky inhibition layer. This tacky film is a byproduct of the curing process and must be wiped away to reveal the shiny, smooth surface underneath. Be gentle during this step to avoid dulling the shine or damaging the seal. Once removed, your nails should feel completely dry and smooth to the touch. Skipping this step will leave your nails sticky and prone to collecting dust and debris, so it’s essential for a clean finish.
12. Hydrate Cuticles and Hands
The final step is to replenish moisture to your nails and skin. Apply cuticle oil around each nail and massage it in to nourish the skin, improve flexibility, and promote healthy growth. Follow with a rich hand cream to restore hydration after the drying effects of alcohol and acetone during prep. This step not only keeps your manicure looking fresh but also supports long-term nail health. Well-moisturized cuticles prevent hangnails and help your gel manicure grow out more gracefully.
Bottom Line
A flawless gel manicure at home is achievable if you follow each step with precision and patience. From thorough nail preparation to careful curing and hydration, every stage contributes to a long-lasting, salon-quality finish. With these 12 expert-approved steps, you can enjoy chip-free, glossy nails for weeks while keeping your natural nails healthy.
FAQs
1. Can I use a regular nail lamp for gel polish?
Yes, but ensure it matches your polish type—UV for UV gels, LED for LED gels.
2. How long should a gel manicure last?
With proper application, it should last 2–3 weeks without chipping.
3. Why is my gel polish peeling early?
Improper nail prep, thick layers, or touching nails after cleansing can cause lifting.
4. Can I skip the base coat?
No—the base coat is essential for adhesion and protecting natural nails.
5. How do I safely remove gel polish?
Soak in acetone with cotton pads and foil; never peel it off.
✨ You May Also Like ✨